


Introduction
You’ve found the perfect image for your embroidery project, but when you convert JPG to VP3 file format, the details disappear, the edges turn fuzzy, and the colors look nothing like your original. This frustrating scenario happens to countless embroiderers who don’t understand the crucial steps between a digital image and an embroidery-ready file.
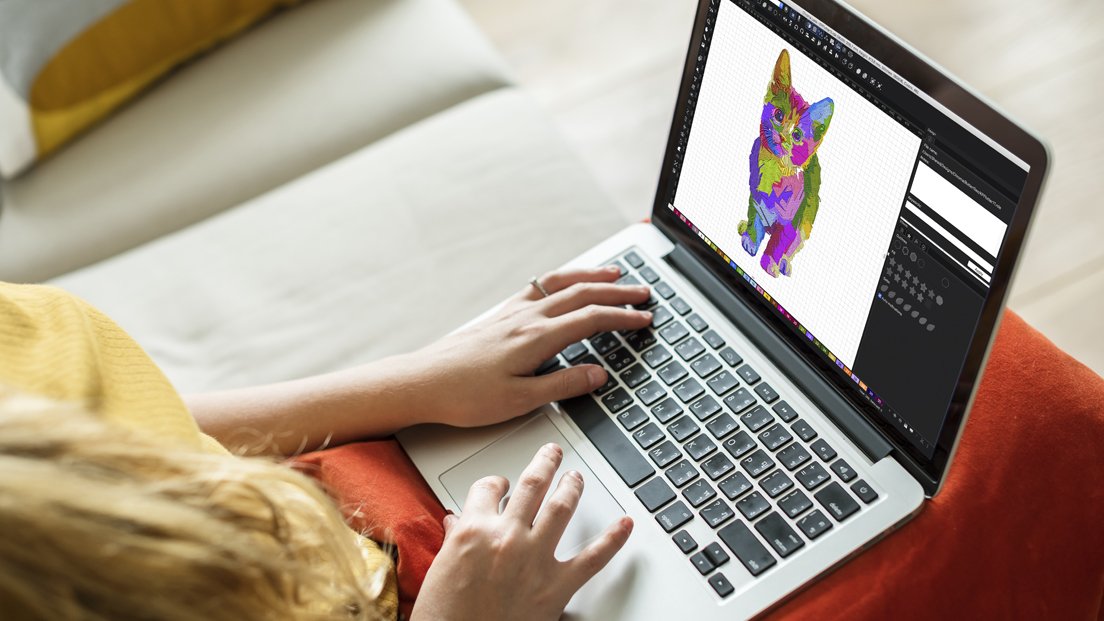
Converting JPG to VP3 file isn’t just about changing file formats—it’s about intelligently translating pixels into stitches. Professional digitizers follow specific processes to maintain image integrity, and in this guide, you’ll learn those exact methods to properly convert JPG to VP3 file. Whether you’re using Brother or Babylock machines, these techniques will help you achieve crisp, professional results every time.
Understanding VP3 Files
Before converting, it’s essential to understand what makes VP3 files unique:
Brother’s Proprietary Format: Optimized specifically for Brother and Babylock machines
Stitch-Centric Design: Contains needle movement data rather than visual information
Color Encoding: Stores precise thread color sequences
Hoop Awareness: Embeds dimension information for proper placement
Why Quality Loss Happens During Conversion:
Automatic tracing misses subtle details
Incorrect stitch type assignments
Poor density management
Missing pull compensation
Improper underlay configuration
Step 1: Preparing Your JPG Image
Image Selection Criteria:
✔ High contrast between elements
✔ Clear edges and defined shapes
✔ Minimum 300dpi resolution
✔ Limited color palette (6-8 colors ideal)
Essential Pre-Conversion Edits:
Boost Contrast: Make elements stand out
Simplify Backgrounds: Remove distractions
Crop Tightly: Focus on key elements
Convert to Grayscale: Evaluate the composition
Pro Tip: Use free tools like GIMP or Photopea for these adjustments if you don’t have Photoshop.
Step 2: Choosing the Right Software
Best Options for Quality Conversion:
| Software | Price | Best For | Quality Score |
|---|---|---|---|
| Hatch Embroidery | $999 | Professionals | 9.5/10 |
| Embrilliance | $199-$399 | Small Businesses | 8.5/10 |
| SewArt | $49 | Hobbyists | 7/10 |
| MyEditor Online | $9.99/month | Quick Projects | 6.5/10 |
Free Alternative:
Ink/Stitch (with Inkscape)
Requires technical skill
Excellent control over stitch parameters
Completely free
Step 3: The Conversion Process
Optimal Settings for Quality Preservation:
Stitch Types:
Fill stitches for large areas (0.35mm density)
Satin stitches for borders (2-3mm width)
Running stitches for fine details
Underlay Configuration:
Zigzag underlay for stability
30% density for most fabrics
Directional underlay for stretch materials
Pull Compensation:
Add 10-15% extra stitches
Crucial for maintaining proportions
Stitch Direction:
Alternate angles in adjacent sections
Follow natural contours
Step 4: Post-Conversion Refinement
Quality Checklist:
✅ Compare against original image
✅ Verify stitch count matches expectations
✅ Check color sequence accuracy
✅ Inspect edge cleanliness
✅ Confirm proper hoop size
Common Fixes for Quality Issues:
Blurry Details: Increase stitch points, reduce stitch length
Puckering: Lower density, add more underlay
Distortion: Adjust pull compensation, add anchor points
Thread Breaks: Reduce density, check tension settings
Advanced Techniques
1. The Layered Approach
Professional digitizers often:
Create separate elements as layers
Assign different stitch types to each layer
Control the exact stitching sequence
2. Manual Point Placement
For critical areas:
Add manual stitch points
Adjust curve smoothness
Perfect corner transitions
3. Specialty Thread Optimization
Adjust settings for metallic threads
Compensate for variegated threads
Account for specialty thread thickness
Testing Your VP3 Files
Professional Testing Protocol:
Virtual Simulation: Watch the entire stitch path
Scrap Fabric Test: Use actual project material
Color Verification: Check thread appearance
Final Run: Stitch on your project fabric
What to Look For:
Stitch density consistency
Proper color changes
Clean edges and details
Fabric lays flat without puckering
Common Mistakes to Avoid
Relying Solely on Auto-Digitize
Always make manual adjustments
Ignoring Fabric Characteristics
Different materials need different settings
Skipping the Test Stitch
Never assume a file will stitch perfectly
Overcomplicating Simple Designs
Sometimes less is more
Using Low-Quality Source Images
Garbage in, garbage out
When to Consider Professional Help
While learning is valuable, sometimes it’s better to outsource:
Complex designs with many details
Important client projects
Specialty fabrics or garments
When you’re short on time
Average Cost: $15-$75 per design
Future of JPG to VP3 Conversion
Emerging Technologies:
AI-powered auto-digitizing
Cloud-based processing
Real-time AR previews
Self-learning algorithms
Predicted Improvements:
Better small detail preservation
Automated fabric adaptation
Smarter color reduction
Conclusion
Converting JPG to VP3 without quality loss is absolutely achievable when you understand the process. By starting with quality images, using the right software, applying proper settings, and thoroughly testing your files, you can create professional-grade embroidery designs ready for any Brother or Babylock machine.
Key takeaways:
Never skip the preparation stage
Learn your software’s advanced features
Test every file before final stitching
Quality conversions save time and materials
Your next project deserves the best possible version of your design. Will it be the one where everything finally comes out perfectly?